I recently joined a forum on Facebook for music photographers called HTBARP (yep, that’s its real name!). It’s actually a really interesting place to browse. There’s photographers of all skill levels from all over the world shooting everything from the biggest stadium concerts with incredible light shows, to first timers shooting local bands in a small club in the back of a pub. The quality of the work on display is brilliant and it’s a supportive environment where if you’ve encountered a problem with any aspect of gig photography from camera settings to dealing with promoters and venues, you can share it an get advice.
That’s exactly what Paul Hughes, a photographer from Vancouver, British Columbia did yesterday when he posted a photo he’d recently taken where the artist had suffered terribly from the curse of RED lights… LED lights produce powerful narrow frequency bands of coloured light which can completely overwhelm the poor little sensor in your camera resulting in an image of a flat, featureless looking, (very) red performer which is hardly flattering… A quick look at the histogram for an image with this kind of issue will reveal that one colour channel is completely maxed out (there might be a tiny bit of blue or green, but red conquers all!). What’s going on here is that each pixel on the sensor really just sees light intensity, but it sees it through either a red, green or blue filter, and if the frequency spectra of what those evil LED Par Cans hanging above you does not stimulate a range of different coloured pixels all you’re going to record is the intensity of what’s basically single channel light.
The responses Paul got from the forum were really interesting. Most recommended post-processing workflows in Adobe Lightroom. I guess that these workflows dial back the all powerful RED and emphasise the little bits of blue and green recorded to get a more balanced image. I’m sure that if you shoot in RAW and record more image data this kind of workflow becomes much more powerful, simply because you’ve got more colour data to work with and I bet you can batch process a series of photos once you’ve got your settings perfected. All of that does the job (and really well judging by some of the spectacular images shown on the forum as part of this discussion!), but the issue is I am intrinsically lazy. I get my kicks being in front of the band with a camera, connecting with the act through the lens and trying to capture a few split seconds that sum up the atmosphere and energy of the performance. As a personal perspective, hours of post processing just doesn’t do it for me. I spend most of my days as a battery-farmed office worker in front of a workstation quietly chewing my way through the remaining RSI-free hours I have left due to me in this lifetime. So, there’s other stuff I’d rather be doing. As a result, I try to do as much of the hard work in the camera as I can, then when I get home after the show all I’ve got to do is a little cropping and maybe a little colour balancing once the photos are uploaded to my computer and we’re good to go (and I must also confess, I am such a luddite I don’t even have a copy of Lightroom and instead just do the minimum of tweaking in iPhoto).
A few others on the forum suggested using exposure compensation to underexpose the shot a little to retain more shadow and then flipping the image in to monochrome. This also works really nicely but you have to decide whether you really want to shoot in colour or monochrome. This is a very personal aesthetic choice which can vary between shoots (and the customer’s needs!).
So far in my short career shooting bands I’ve been a fan of strong saturated colour. That being said, I have recently began to flirt with the world of grey-scale, which for me at least, requires a very different thought process when it comes to composing the image and thinking about how I meter and where I stand relative to the light source (if I have the privilege of choosing!). Like Paul I’ve had plenty of RED photographic nightmares (as well and searing BLUE and shocking PINK ones too) and I’ve come up with a few ways to get around the issue I’d like to share…
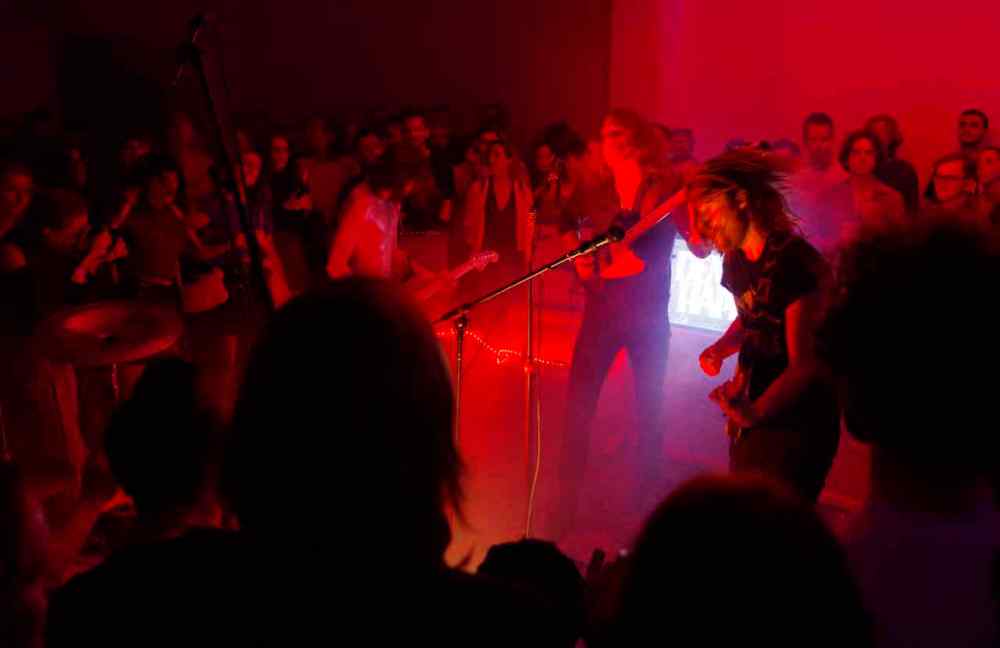
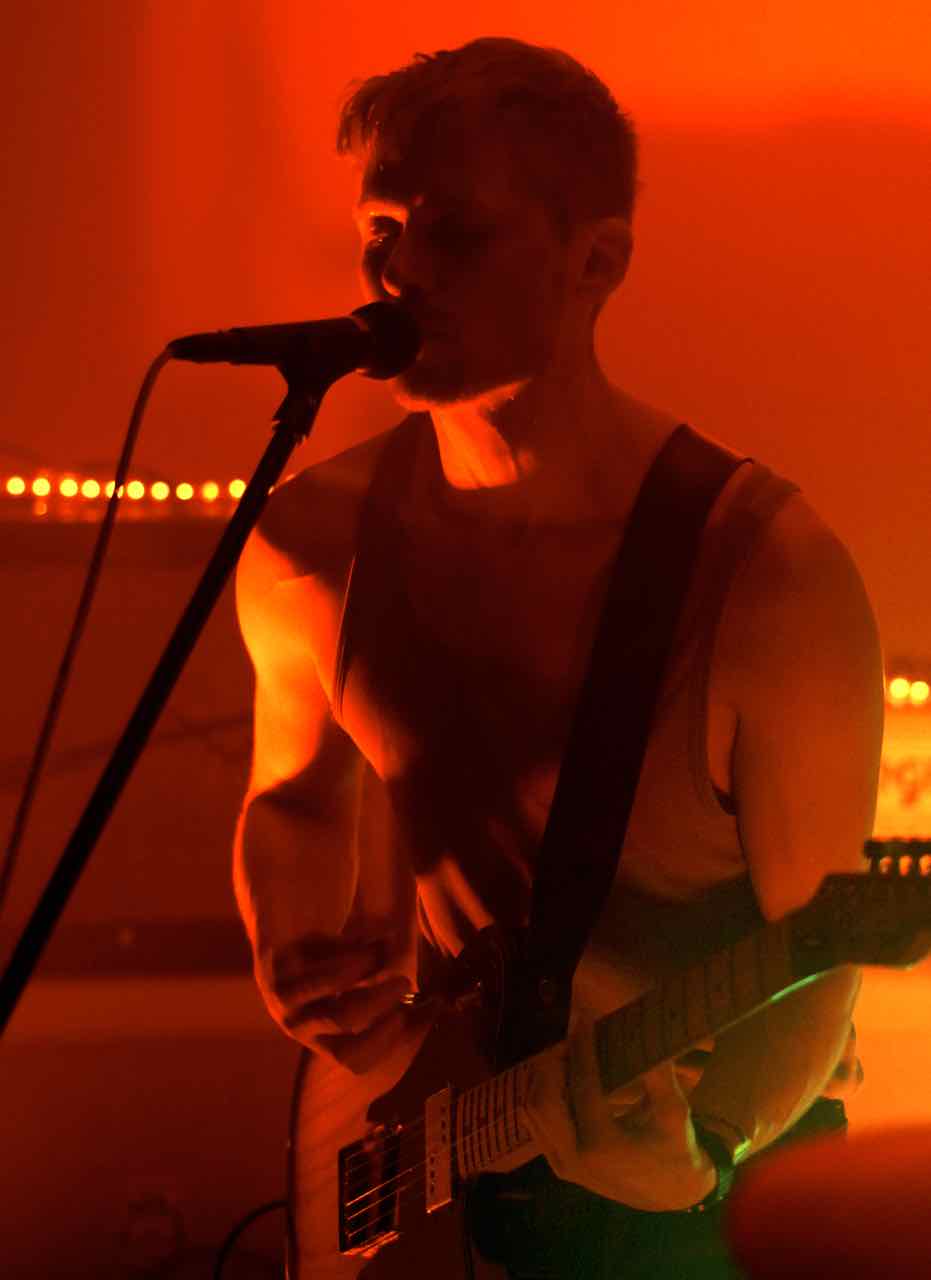
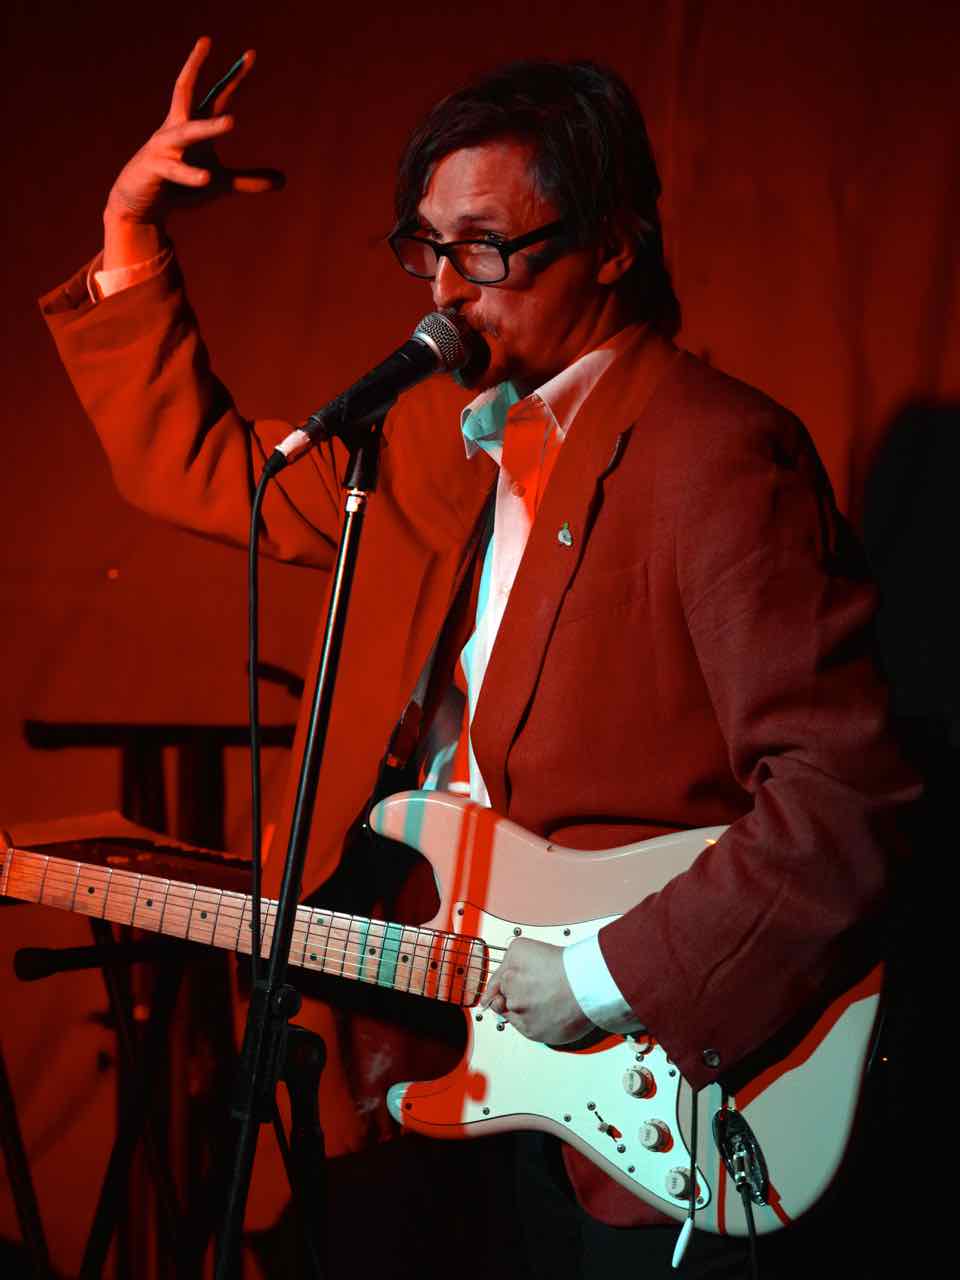
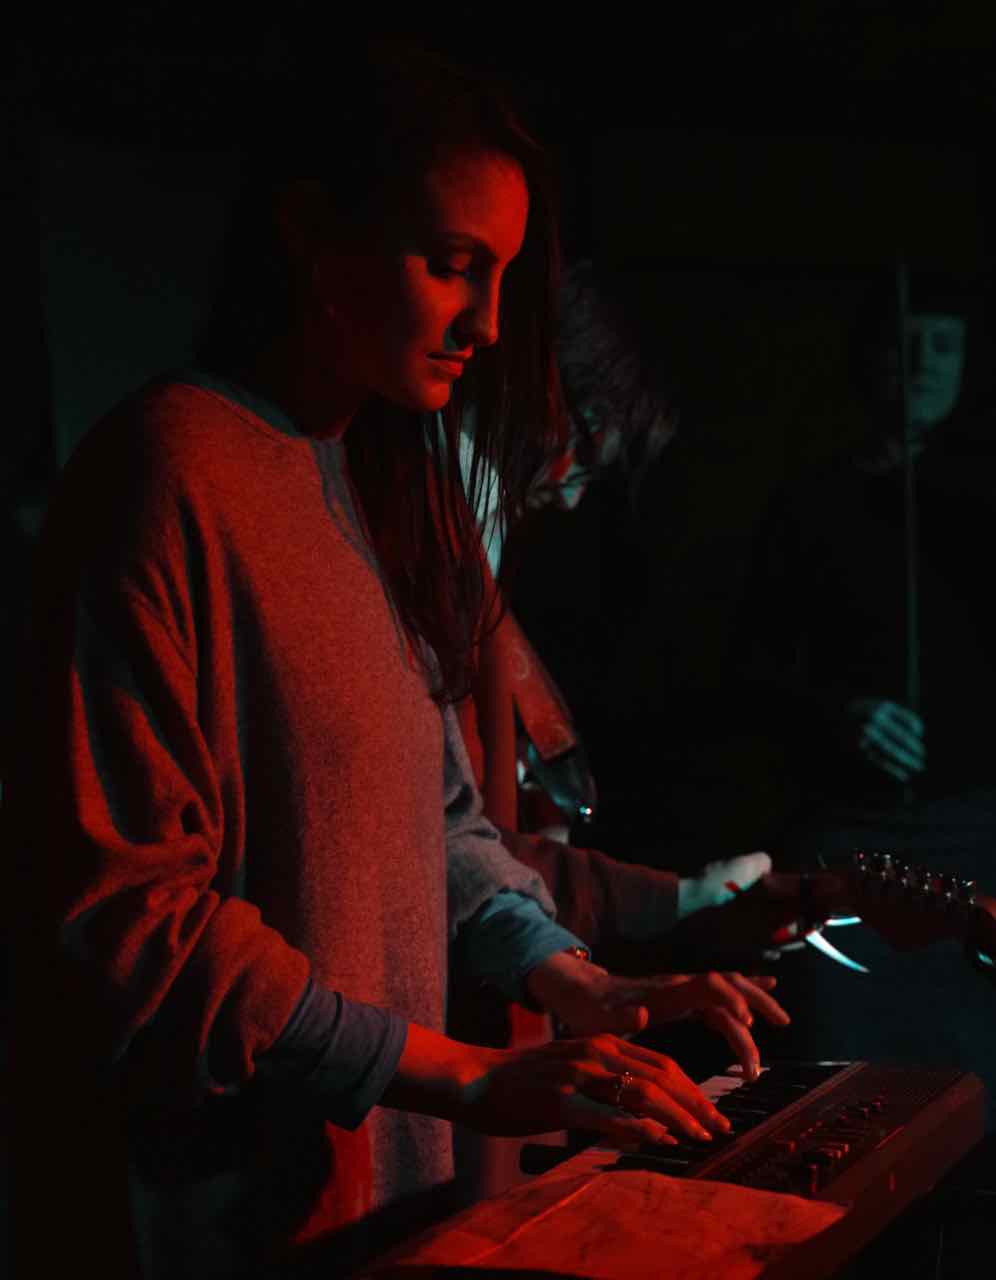
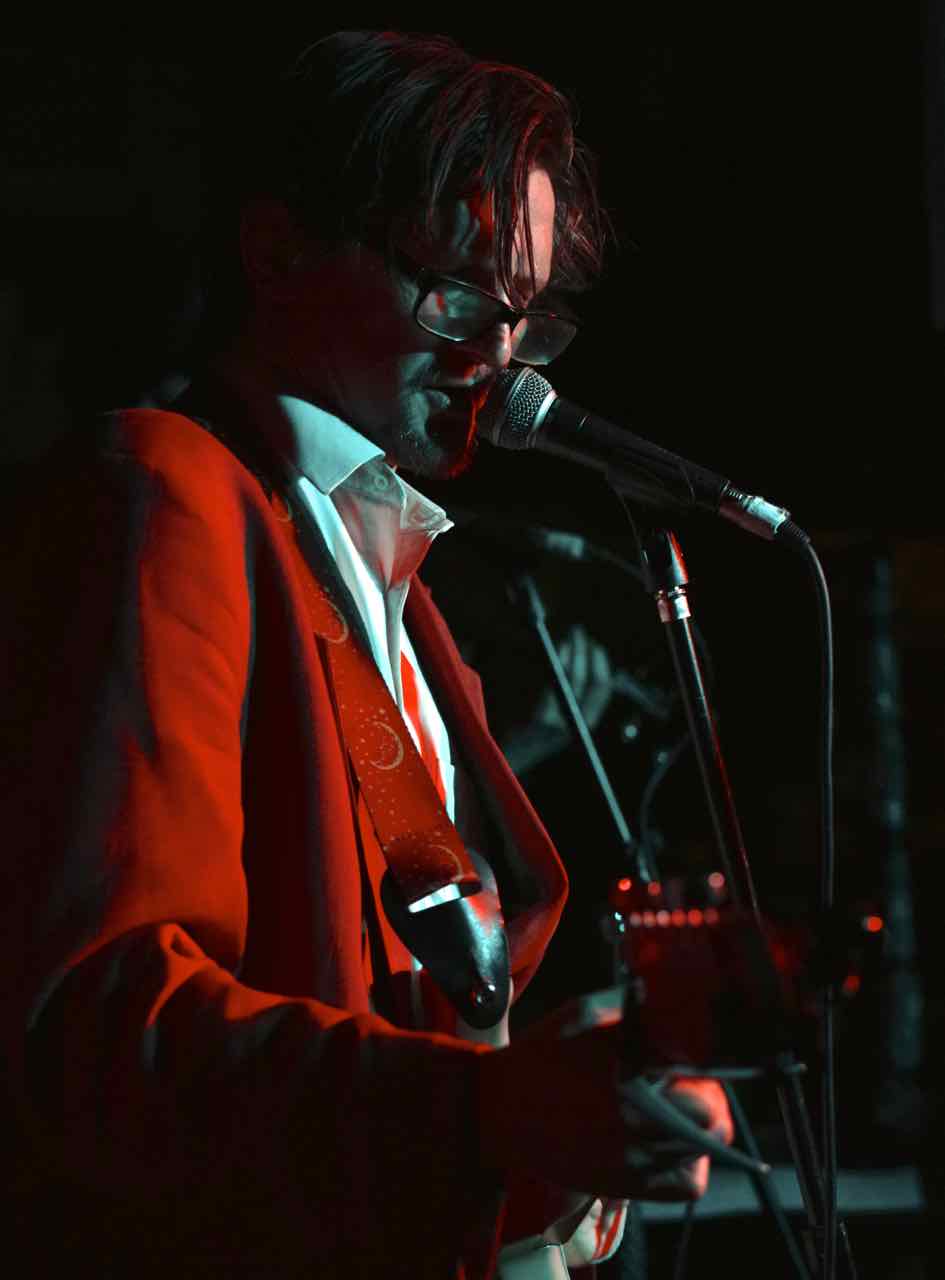
Roll With It… It’s not my fist choice, but some times just setting the camera to auto everything and letting it get on with it can produce amazing results that look nothing like what the eye sees. This is basically what happened with the Urban Voodoo Machine shots (below). We were at the Secret Garden Party, the band love red light and mostly wear red and black. I was shooting with an Olympus Stylus1 bridge camera and at that time had no idea about what settings to use so I blatted away looking for the compositions that worked for me and got these results. They’re very different to almost every other photo I’ve ever taken, and I sort of like them. If you’ve every seen this band you’ll know these shots suit them well!


This one experience means I always fire off a few shots on full auto just to see what the camera makes of the lighting. Sometimes you get a nice surprise!
Get Technical… When your camera is seeing a world that consists only of RED, it needs reminding what white looks like. Persuading the small box of complex electronics you wave at the band that other colours are available means tinkering with White Balance.


Taking a Custom White Balance measurement of something that’s either white or pale grey gives the camera a bit of a more solid grasp on reality and you will get better colours as a result. Bands that wear white t-shirts (like Weird Dreams) are your friend, but anything white will do. The skin of a kick-drum saved Plague Vendor from the hellish red light of the Old Blue Last, and even the lettering of the Sports Direct bag that Zsa Zsa Sapiens brought their trumpet in has been used successfully to battle the lights of the Windmill in Brixton.
Basically it’s just a case of rooting around in the white balance menu until you find the “Custom” option and then snapping off a shot at something white (my Pentax645Z seems happiest when that something is slightly textured and you get a really crisp focus lock), select the bit in the preview image you want the camera to think is white and hit OK (there’ll be some variation on this depending on your make of camera).


You will need to experiment with this… My camera regularly rejects things it decides are clearly not white (despite the fact I’m certain they were before the lights got turned on) and there can be somewhat of a back-and-forth “dialogue” until we find an accord that both the camera and I can agree on. If the colour of the light varies across the stage, so might the colour balance setting you need to work with. Again, experiment and also check if any of the presets do the job too – I’ll always try out a few white balance settings during a shoot just to see what I get (just in case I’m missing something awesome!).

This may sound like a bit of a faff (and to some extent it is!), but if you’re working with the kind of static lighting rig most small venues run with it’s well worth the effort. Once you’ve got the magic setting you’re good for the rest of the show. Even if you’re just shooting your three songs in the pit, playing with the settings does not take long once you’ve had a bit of practice and can make all the difference.
It was during one of my errm… “Frank Discussions” with my splendid Pentax that I learnt something really interesting. Sometimes you can bamboozle the camera in to thinking that something is white which has clearly never ever been white. This somewhat unexpected compromise on the subject of what was white and what was not, opened up a whole new world of effects because the camera now saw the colour red as something completely different! There is an element that this way madness lies, but if you find that static lighting rig isn’t doing anything for you, and want a completely different colour palette to shoot with, Custom White Balance can be the gateway to another dimension conjuring up amazing colours that were clearly never there… This can be very exciting. It can also produce horrible, horrible things that no photographer should ever have to see, and either way can really upset your resident Lampy, but rolling these particular dice and seeing what you get if you can outwit the electronics can add incredible depth and interest to a shot.

Of course sometimes my camera becomes belligerent on the subject of what colour things really are and simply wont be fooled. It is convinced that the red thing you’re telling it is white is really RED and will not be persuaded otherwise. That’s when I Go Monochrome… I’ve had a quick play with desaturating images during post processing but actually found that my camera can do it just as efficiently, more consistently and much more quickly than I so when I take this route I let the camera do the work (see comments on laziness above…). I may tweak the contrast of the image a little on the computer but that’s about it.
Black and white isn’t something I do often and I find it a bit of a challenge. I’ve found that I have to step back a bit and have a really good look at the stage and lighting rig, shut out all those glorious colours trying insidiously to entice me back to the realm of poorly balanced RGB channels and instead start thinking purely about light and dark and shades in between.
Where you stand relative to the light source and how you meter the artist become all important! I’ve put some shots up from a set by the excellent and very expressive David Cronenburg’s Wife at the Windmill in Brixton to illustrate this point. If I shot from the right of the stage facing with the light towards the artist with twin (malevolent) Par Cans hanging from the ceiling above me I get a nice shot, but it’s quite flat the back drop is well lit too and the artist doesn’t really jump out of the picture at you. However, move to the left of the stage so I am shooting obliquely towards the light I get something very different. There’s much more shadow giving the shot depth and the backdrop is thrown in to darkness. By spot metering on the brightest parts of the artist’s face, the darker parts of the image are accentuated.


It’s amazing that just by moving a little bit the shot can change completely – always have a good walk around the area you’re going to be shooting from if you can. Just be aware that if you’re in a small venue where the only thing between the crowd and the band is a small step and a a few monitors, and you’re going to move, you need to be really respectful of the other paying punters you’re going to be getting in the way of. Try not to move often and do so between songs to cause the least disruption. It’s always good to get in position early before the set starts, that way the crowd finds its place around you rather than you getting in the way of it. The only thing is, that means planning those shots and being really aware of how the lights and the artist might interact…
I hope that my lighthearted technical rant helps you a little with your RED nightmares… The key thing is to learn what your camera can do and experiment with it – work out what techniques work for you. Persevere and you’ll have some nice surprises along the way!
